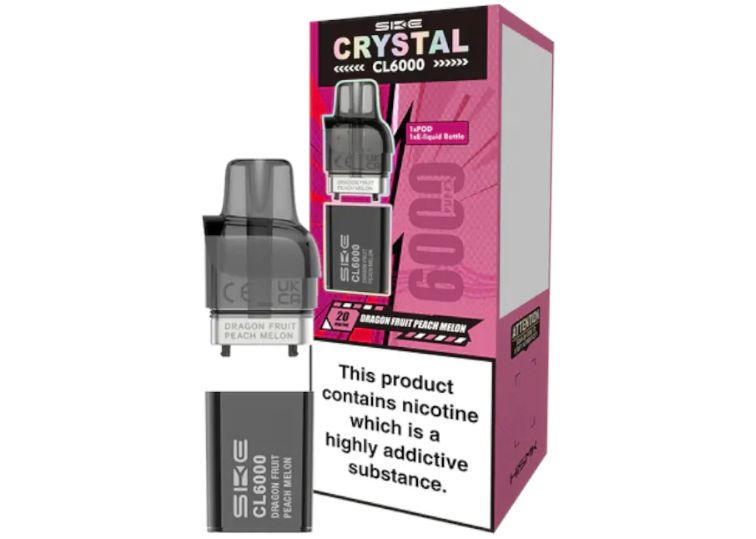
Let’s talk about something that’s been doing my head in lately. You’ve just bought your Ske Crystal Cl6000 Replacement Pods, you’re buzzing to try that new flavour, and then bam. E-liquid everywhere. Your pocket’s soaked, your device is sticky, and you’re wondering what went wrong. Installing your Ske Crystal Cl6000 Replacement Pods properly isn’t rocket science. But there are a few tricks that make all the difference between a smooth vape and a pocket full of juice. Let me walk you through it.
Why Do Pods Leak in the First Place?
Before we get into the how-to, let’s quickly chat about why leaking happens. Understanding this will help you avoid it.
Common causes include:
- Poor installation – Not clicking the pod in properly
- Damaged seals – The rubber bits around the pod can get worn
- Temperature changes – Going from cold to warm expands the liquid
- Overfilling or underfilling – Yes, both can cause issues
- Damaged pods – Sometimes you just get a dud
Nine times out of ten, it’s how you’ve fitted the pod. Sort that out, and you’re golden.
What You’ll Need
This isn’t a complicated job. You won’t need tools or a degree in engineering. Here’s what you need:
- Your Ske Crystal CL6000 device
- A fresh Ske Crystal Cl6000 Replacement Pod
- Clean hands (seriously, get any dirt or juice off them)
- A tissue or cloth for any spillages
Step-by-Step: Installing Your Ske Crystal Cl6000 Replacement Pods Leak-Free
Step 1: Remove the Old Pod Safely
First things first, get that old pod out without making a mess. Hold your device firmly in one hand. With your other hand, grip the pod at its base (not the mouthpiece). Pull straight up with steady pressure. Don’t yank it like you’re starting a lawnmower. Gentle but firm does the trick. If there’s any leftover e-liquid on the device, wipe it off now. A clean connection point means a better seal.
Step 2: Inspect Your New Ske Crystal Cl6000 Replacement Pod
Before you stick it in, give your new pod a quick once-over.
Check for:
- Cracks or damage to the plastic
- The rubber seal at the bottom (it should be intact and sitting flush)
- Any visible leaks or wet spots
- The metal contact points (they should be clean)
If anything looks dodgy, don’t use it. Contact where you bought it. A faulty pod isn’t worth the hassle.
Step 3: Prime the Pod (This Bit’s Important)
You can’t just shove the pod in and start puffing. Well, you can, but you’ll regret it. Priming means letting the coil absorb e-liquid before you vape. Think of it like letting a tea bag sit in water; you need time for everything to soak in properly. Here’s what to do:
- Leave your Ske Crystal Cl6000 Replacement Pod sitting upright for 5-10 minutes after unboxing
- Don’t take a drag yet (I know it’s tempting)
- This prevents dry hits and helps the seal settle
Some people skip this. Those people also complain about burnt tastes and leaks. Don’t be those people.
Step 4: Insert the Pod Correctly
Hold your device in one hand and the pod in the other. Look at the bottom of the pod—you’ll see it’s shaped to fit only one way. Line it up with the slot on your device.
Push down firmly and evenly until you hear or feel a click. That click is your mate. It means the pod has seated properly and the seal is engaged. Don’t just press one side. Use your thumb to apply even pressure across the whole pod. If it wobbles or feels loose, take it out and try again. A properly installed Ske Crystal Cl6000 Replacement Pod should sit completely flush with the device.
Step 5: Check the Seal
Give the pod a gentle wiggle. It shouldn’t move at all. Run your finger around where the pod meets the device. Feel any wetness? If yes, remove the pod and check the rubber seal. It might be twisted or damaged. This step takes five seconds and can save you from a pocket full of sticky mess later.
Step 6: Wait Before Vaping
But give it another few minutes after installation. This extra time lets everything settle and ensures the seal is properly engaged. Plus, it gives the coil more time to saturate. Go make a cuppa. Check your messages. Literally anything for five minutes.
Pro Tips to Keep Your Ske Crystal Cl6000 Replacement Pods Leak-Free
After doing this dozens of times, I’ve picked up a few extra tricks:
- Store pods upright – Gravity is not your friend when pods are on their side
- Avoid extreme temperatures – Don’t leave your device in a hot car or freezing coat pocket
- Don’t overtighten – If you’re forcing it, something’s wrong
- Check seals regularly – That rubber bit wears out over time
- Clean the connection points – A quick wipe every few pod changes keeps things working smoothly
- Don’t use damaged pods – Even if you’re desperate, it’s not worth it
What If It Still Leaks?
Sometimes, despite doing everything right, you still get a leak. Here’s what to do:
Remove the pod and check the rubber seal again. Nine times out of ten, it’s slightly twisted or hasn’t seated properly. Reseat it and try again. If the seal looks fine, the pod itself might be faulty.
Also, make sure you’re using genuine Ske Crystal Cl6000 Replacement Pods. Knock-offs might be cheaper, but they’re rarely made to the same standards. They leak more, taste worse, and can damage your device.
How Long Do Ske Crystal Cl6000 Replacement Pods Last?
This depends on how much you vape, but most people get 3-5 days from one pod. Heavy vapers might go through them quicker. You’ll know it’s time to change when: Don’t try to squeeze extra life out of a dead pod.
Final Thoughts
Installing Ske Crystal Cl6000 Replacement Pods leak-free really isn’t complicated. It’s about taking your time, checking things properly, and not rushing the process. Prime your pod. Insert it firmly until it clicks. Check the seal. Wait a few minutes. Do it right, and you’ll never have to deal with sticky pockets or wasted e-liquid again. Your future self will thank you.
And if you’re ever unsure, simply return to this guide. I’ve written it exactly how I’d explain it to a mate down the pub. No fancy language, no waffle, just what works. Now go enjoy that new flavour. You’ve earned it.